Five Ways To Propagate Your Native fern Collection
Share
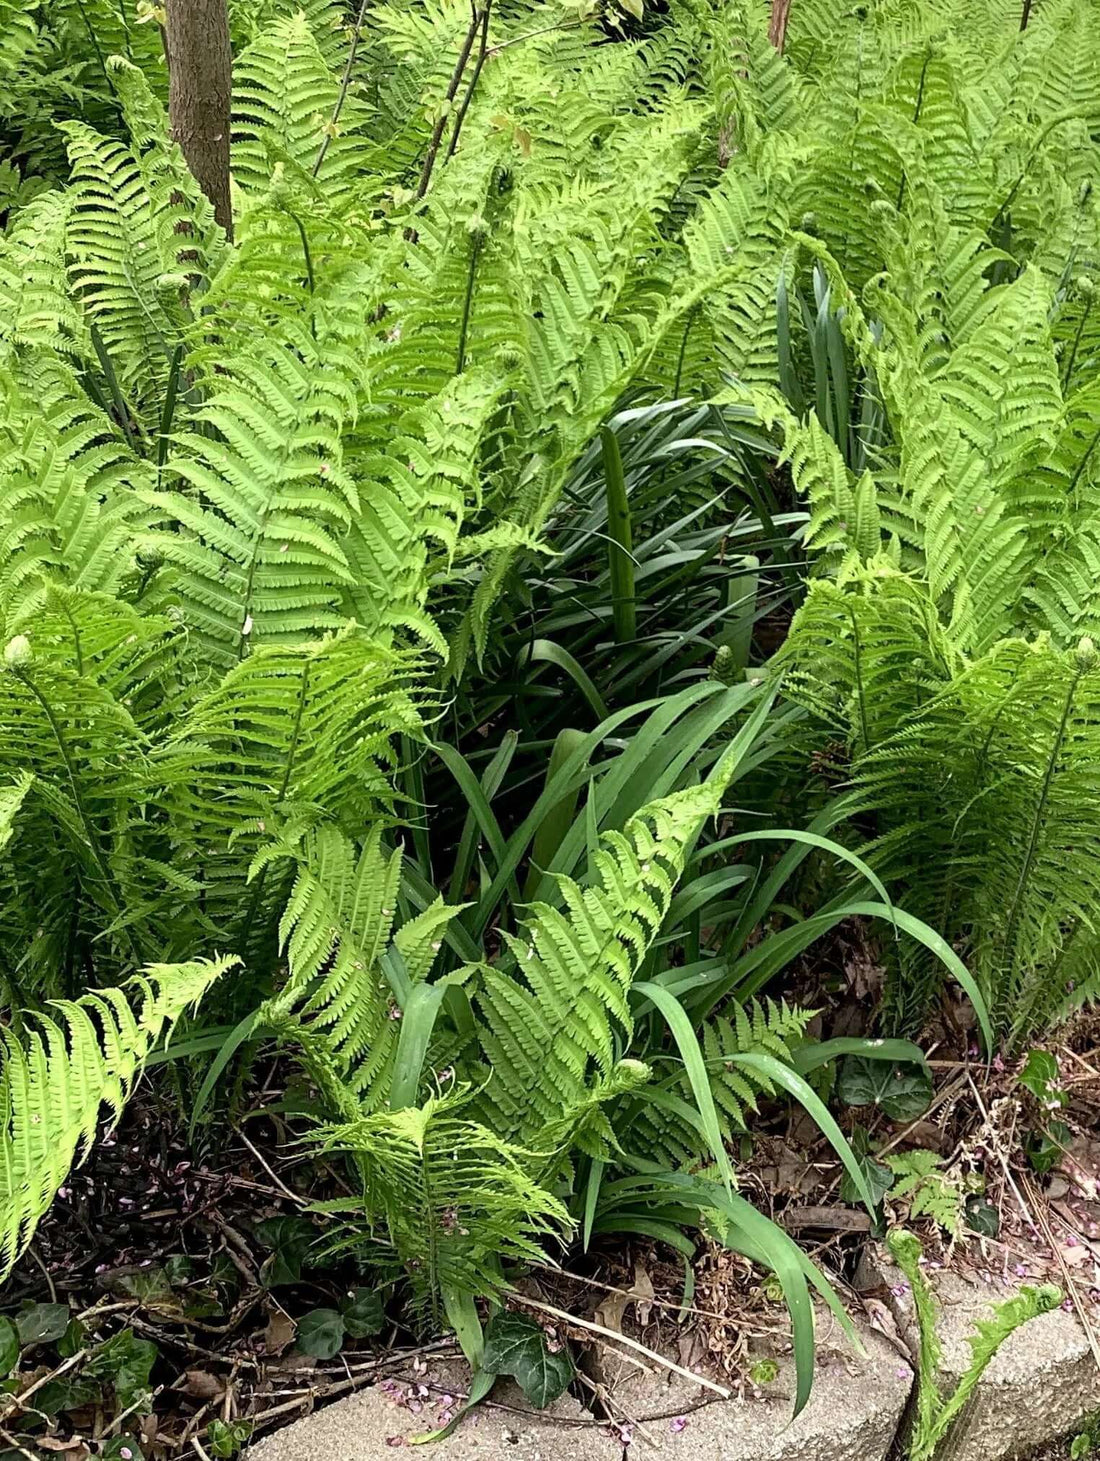
Propagating native ferns is an excellent way to expand your collection and preserve these beautiful plants
You can use several methods to propagate ferns, and in this article, we will explore five effective techniques. Following these methods, you can multiply your fern collection and enjoy their lush green foliage in various areas of your garden or home. So, let's dive in and discover how to propagate your native fern collection.
Spore propagation is the most common method used to propagate ferns, as it allows you to replicate the exact characteristics of the parent plant. Here's a step-by-step guide on how to propagate ferns using spores:
Step 1: Collecting Spores Identify mature fern fronds that have developed spore capsules on their undersides. These capsules are usually brown or black. Place a clean paper or a plastic bag beneath the front to catch the spores. Gently shake the frond to release the spores onto the paper or into the bag.
Step 2: Preparing the Growing Medium Prepare a sterile growing medium suitable for fern spore germination. A combination of peat is generally used. Fill a shallow tray or pot with the growing medium and moisten it with water.
Step 3: Sowing the Spores Sprinkle the collected spores evenly over the surface of the moist growing medium. Cover the tray or pot with a transparent plastic lid or bag to make a humid environment. Set the tray or pot in a warm spot with indirect light, avoiding direct sunlight.
Step 4: Germination and Transplanting Keep the growing medium damp but not waterlogged. Mist the surface regularly to maintain humidity. Fern spores usually take several weeks to germinate. Once you notice tiny green prothalli (heart-shaped structures), it indicates successful germination. After a few months, the prothalli will develop small fern fronds.
At this stage, carefully transplant them into individual pots or trays filled with a suitable growing medium.
Maintain the transplanted ferns in a humid environment with indirect light until they grow into mature plants
Division Propagation Division propagation is another effective method to propagate native ferns, especially for those ferns that form clumps or have rhizomes. This method involves separating the parent plant into smaller sections, each with its root system.
Here's how to propagate ferns through division:
Step 1: Choosing the Parent Plant Select a mature fern plant with multiple crowns or a visible rhizome system. Ensure the fern is healthy and free from any diseases or pests.
Step 2: Preparing the Division Gently remove the fern from its pot or carefully dig it from the garden. Identify natural divisions or separate clumps using a sharp, sterilized knife or garden shears. Ensure each division has its own set of roots.
Step 3: Potting the Divisions Fill individual pots with a suitable potting mix, such as peat moss, perlite, and compost. Plant each division in its kitty, ensuring the roots are well-covered with soil. Firmly press the ground around the roots to eliminate any air pockets. Water the newly potted divisions thoroughly.
Step 4: Post-Division Care Place the potted divisions in a shaded area with indirect light. Keep the soil damp but evade overwatering, as excess moisture can lead to rot. After a few weeks, once the divisions have established new growth, gradually expose them to more light.
Rhizome Cutting Propagation (300 words) Rhizome cutting propagation is an excellent method for ferns with thick, fleshy rhizomes, which are underground stems producing new fronds and roots. This method involves taking sections of the rhizomes and encouraging them to develop into new plants.
Here's how to propagate ferns using rhizome cuttings:
Step 1: Preparing the Cuttings Select a healthy fern plant with well-developed rhizomes. Carefully dig up the fern, ensuring you preserve the rhizomes. Cut sections of the rhizomes using a sharp, sterilized knife or garden shears. Each team should be 2-3 inches long and have at least one bud or growth point.
Step 2: Planting the Cuttings Fill pots with a well-draining potting mix, such as peat moss and perlite. Plant the rhizome cuttings horizontally in the banks, burying them partially with the bud or growth point facing upwards. Firmly press the potting mix around the cuttings to ensure good soil-to-cutting contact. Water the pots thoroughly.
Step 3: Providing Optimal Conditions Place the pots in a warm and humid environment with indirect light. Maintain a constant level of water in the soil, but avoid waterlogging. Cover the jars with plastic bags or use a misting system to create a humid microclimate.
Step 4: Rooting and Transplanting After several weeks, check for signs of new growth and root development. Once the cuttings have developed new fronds and a healthy root system, they are ready for transplanting.
Carefully remove the rooted cuttings from the pots and plant them in larger containers or directly into the garden. Provide adequate moisture and shade until the newly transplanted ferns are well-established.
Bulbils Propagation Some ferns produce bulbils, small, bulb-like structures that develop on the fronds. These bulbils can be used to propagate new fern plants. Here's how to propagate ferns using bulbils:
Step 1: Identifying and Collecting Bulbils Look for mature fern fronds that have developed bulbils. They may appear as small, rounded structures along the front. Gently detach the bulbils from the fronds, ensuring you do not damage them.
Step 2: Preparing the Planting Medium Fill small pots or trays with a well-draining potting mix, such as peat moss and perlite.
Step 3: Planting the Bulbils Press the bulbils lightly into the potting mix, burying them partially. Ensure the bulbils have good soil contact but need to be fully covered.
Step 4: Providing Suitable Conditions Set the pots or trays in a warm location with indirect light. Keep the soil constantly moist but evade overwatering. Step 5: Transplanting and Care After a few weeks, the bulbils will develop roots and shoots. Once the new ferns have developed a sufficient root system, transplant them into individual pots or directly into the garden.
Continue to provide appropriate care, including regular watering and shade, until the new ferns are well-established
Vegetative Propagation Vegetative propagation involves using fern parts other than spores, rhizomes, or bulbils.